Много е лесно. Добавете семена, добавете вода и поставете капака.
Лесно настройване
Сглобете за по-малко от минута
- Прикрепете дъното към LED стойката с 2 ръчни гайки
- Поставете тавата и решетката в нея
- Добавете подложка за отглеждане
- Включете адаптера
- Готови сте – започнете да отглеждате
Няколко лесни стъпки
Вижте колко лесно е да отглеждате микрозеленчуци у дома с Vital Garden.
Накиснете семената
Накиснете семената за около 4-8 часа (тази стъпка е по-желание)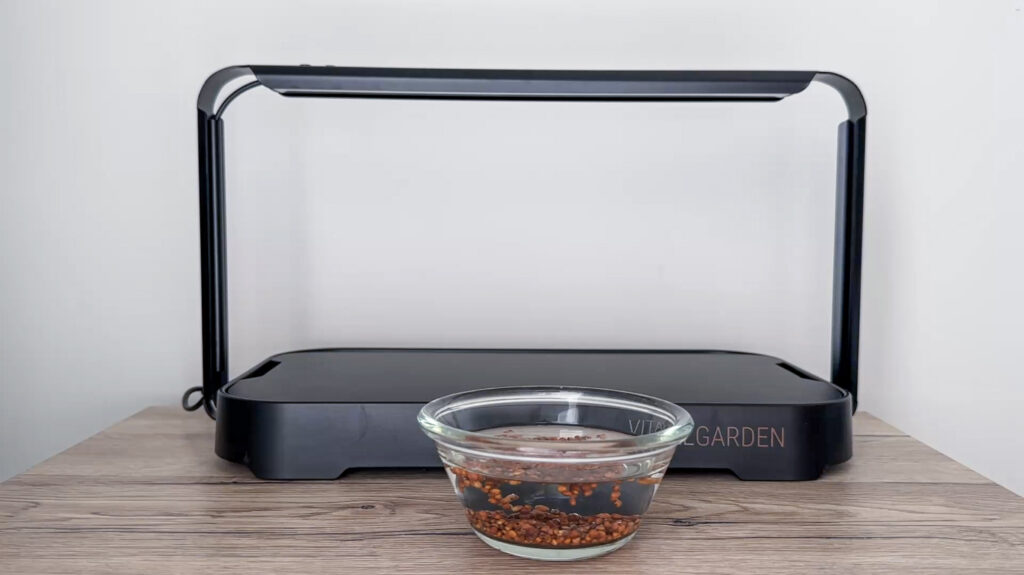
Разстелете ги равномерно
Разстелете семената равномерно върху подложката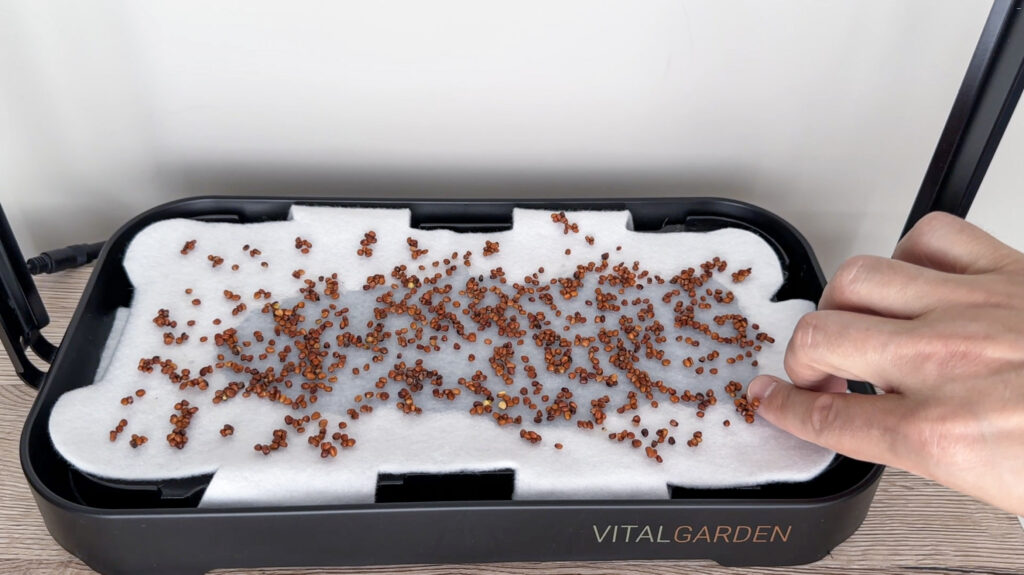
Добавете вода в подноса
Добавете около ~800мл вода в подноса. Решетката и подложката не трябва да са във вода.
Фаза на затъмнение
Сложете похлупака. Следващите 2-3дни семената ще покълват и трябва да са на тъмно и влажно, но не и да плуват във вода.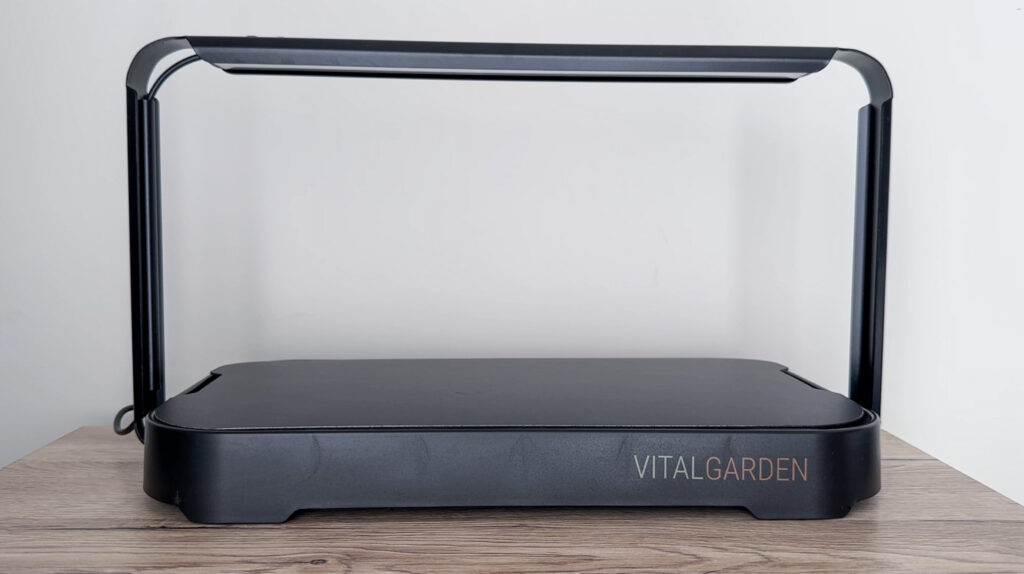
Добавяме тежест
За по-добри резултати, добавете малка тежест, така ще създадете по-силни растения. (тази стъпка е по избор, но препоръчителна)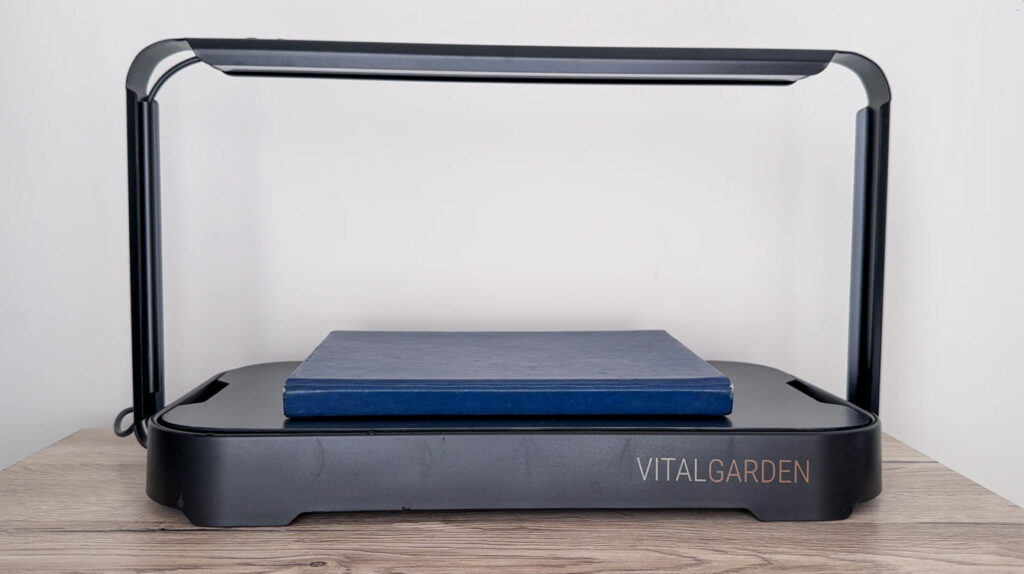
Махаме капака
След като семената покълнат и започнат да избутват капака е време да го махнем. (около 2-4 ден)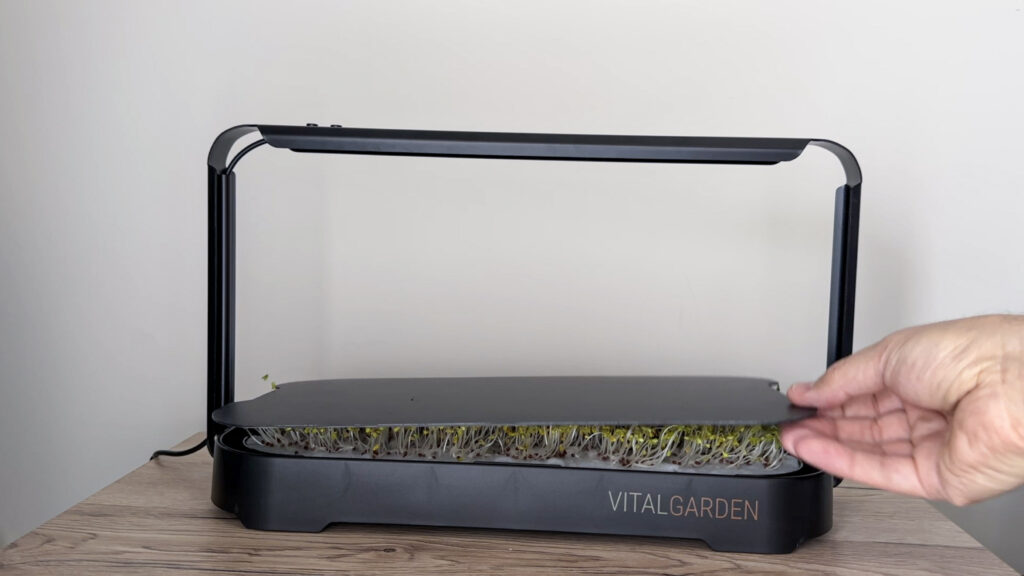
Пускаме светлината
След като махнем капака е време да пуснем светлина. Може да нагласите 12ч таймер. Следващите дни разстенията се нуьдаят от цикличност 12ч тъмнина, 12ч светлина.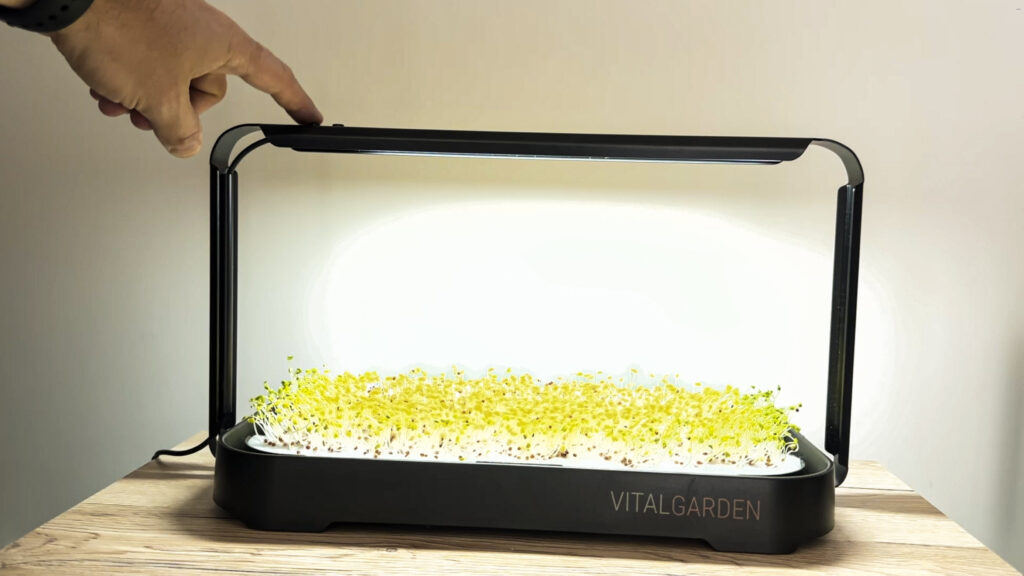
Време за реколта
Около 7-12 ден, може вече да отрежете и да се насладите на реколтата си. Използвайте ножици или остър нож. Режете около 1 см над подложката.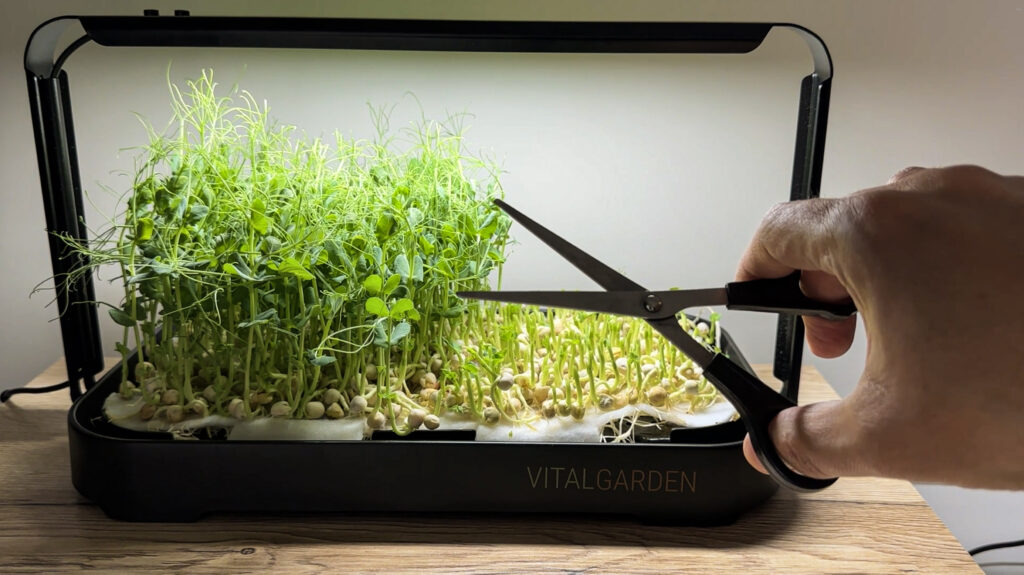
Почистване
Почистете тавата, като отделите остатъците от разстенията. Изплакнете постелката с вода и сапун или само с вода. Всичко е готово за следващия кръг на отглеждане.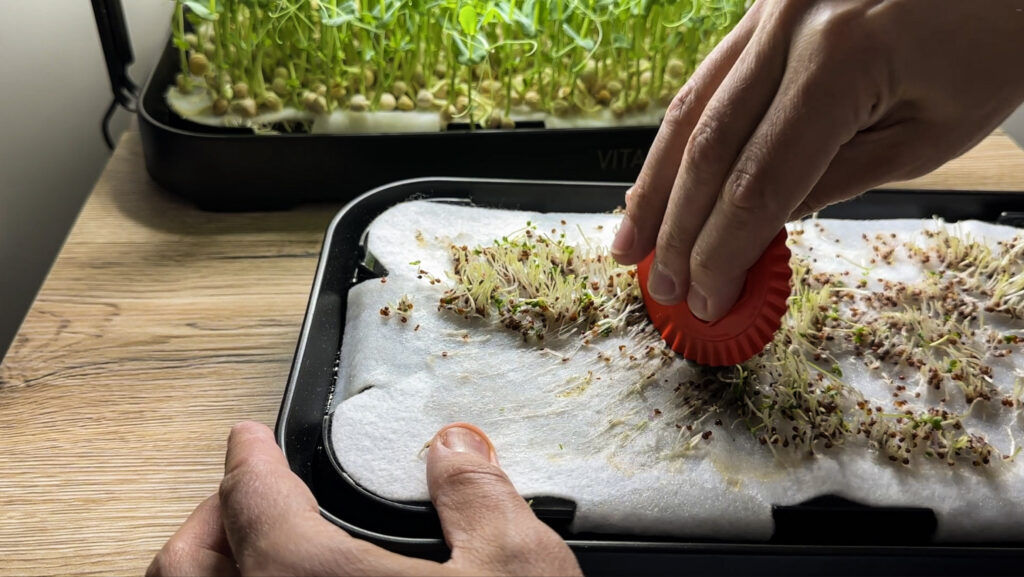
Автоматична LED лампа
С вграден таймер.
12ч Вкл./12ч Изкл.
- Автоматично превключване на осветлението на 12-часови интервали
- Имитира естествена дневна светлина
- PPFD 218 mMol/s/m2
Готови ли сте да отглеждате свои собствени микрозеленчуци?
Пресни микрозеленчуци за 7 дни – без почва, без опит.
Безплатна доставка в България. 14-дневен срок за връщане. 2 години гаранция.

